As an Amazon Associate I earn from qualifying purchases.
Updated on April 13, 2025
Contouring is a trend in the beauty world that is taken up everywhere. And everyone wants to take their look from gloom to glam. People around you seem to move around with a perfectly contoured face, but you are still struggling with how to contour.
Even though many videos on YouTube, Instagram and all show you how to contour, you still need to get some background knowledge. You need to know the product you should use, the shape of your face and all. And without detailed background knowledge, you might look like a clown.
This article will discuss how to contour like a pro makeup artist. But, what exactly is contour?
Contents
What is Contouring?
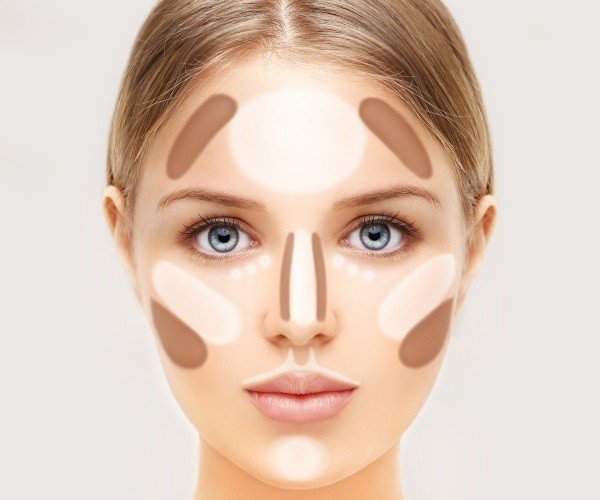
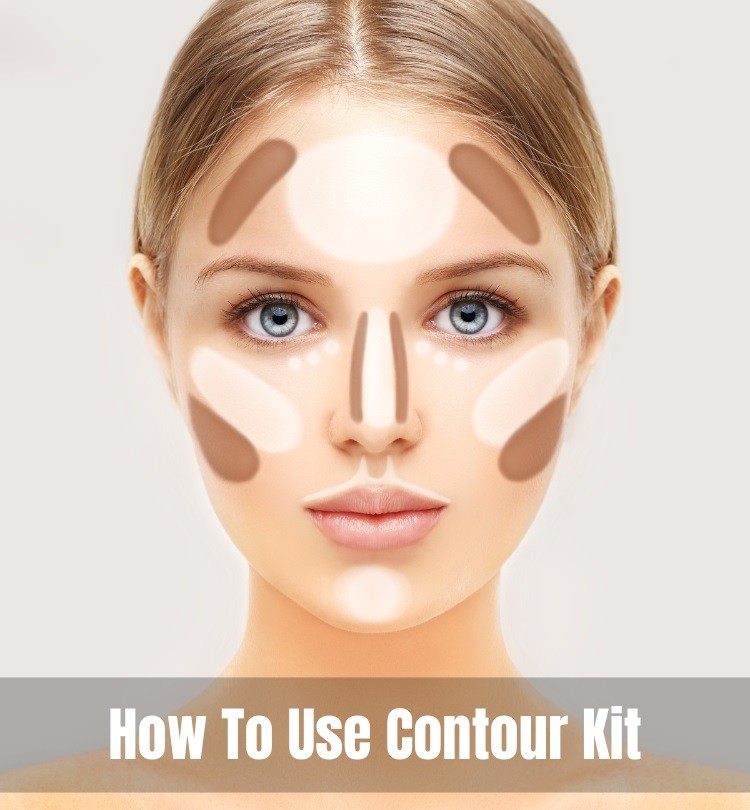
Contouring is a makeup technique for adding definition and sculpting the face. This is done with the use of a highlighter and bronzer. The highlighter is usually two shades lighter than the skin shade, while the bronzer is two shades darker.
With foundation, we go for a product that matches the skin tone, but with contouring, we go for a product that adds the light and shadow effect to the face.
What do You Need to Contour?

All you need is a highlighter and bronzer. You do not need to break the bank, though; drugstore products work well. Just go for a highlighter that is two shades lighter and a bronzer that is two shades darker.
However, make sure you are using products of the same texture. If you are using creamy products, stick to that; adding powering products might not make the outcome look fine. Besides, you should ensure that you have the right brushes for contour.
Tips on How to Contour
If you want to learn how to contour like a pro makeup artist, look no further. Here are step by step processes on how to contour your face;
Step 1: Know your face shape
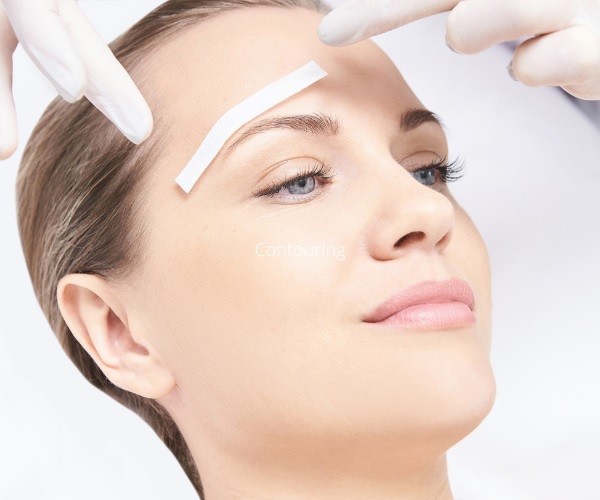
The first thing to do when thinking of how to contour is to know your face shape. The truth is that your face shape will determine how you contour. There are up to six face shapes and we are going to describe them one after the other briefly.
- Round shape: The cheekbone, forehead, and jawline have the same proportion for this face shape.
- Oval shape: people see this face shape as the perfect shape. The forehead is usually larger than the cheekbone, and the jawline is angular, hence elongating the face.
- Long shape: this face is characterized by an equal forehead and cheekbone, but the jawline is longer. So the face is long.
- Heart shape: people with this face shape has a wide forehead while the jawline is pointed.
- Square shape: this face shape is almost the same as a round shape. But it is characterized by soft corners.
These are some of the common face shapes; once you know yours, you can move to the next step.
Step 2: Prep your face
The next step is to prepare your face, wash your face and apply a primer. Even though the primer is optional, you should apply it if you are looking for a more glowing look. One of the benefits of using a primer is that it makes makeup last longer on the face.
Once you have applied primer, you use a foundation and blend it on your face with a brush or beauty blender. After that, you conceal every blemish on your face and lighten your under-eye with concealer. The shade of the foundation must match your skin tone, while that of concealer should be a shade or two lighter.
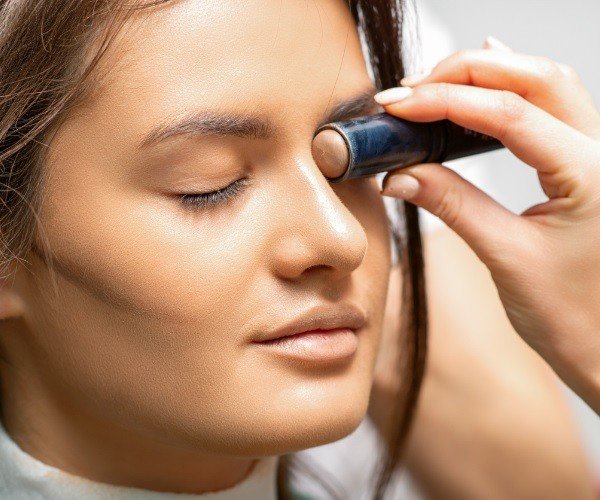
Step 3: Contour
To contour like a pro makeup artist, you need to create a shadow around specific places on your face. Generally, you should contour along your cheekbone, forehead and jawline. But, of course, how you will do that depends on your face shape.
If you want a chiseled cheek, then contour under your cheekbones. To know where your cheekbone is, suck in your cheeks, and put the contour product along the hollow of your cheeks.
To add more definition to your jawline, contour its edges. If you want your lips to look fuller, add the product to the tip of your lower lip. To make your forehead look smaller, add the product along your hairline.
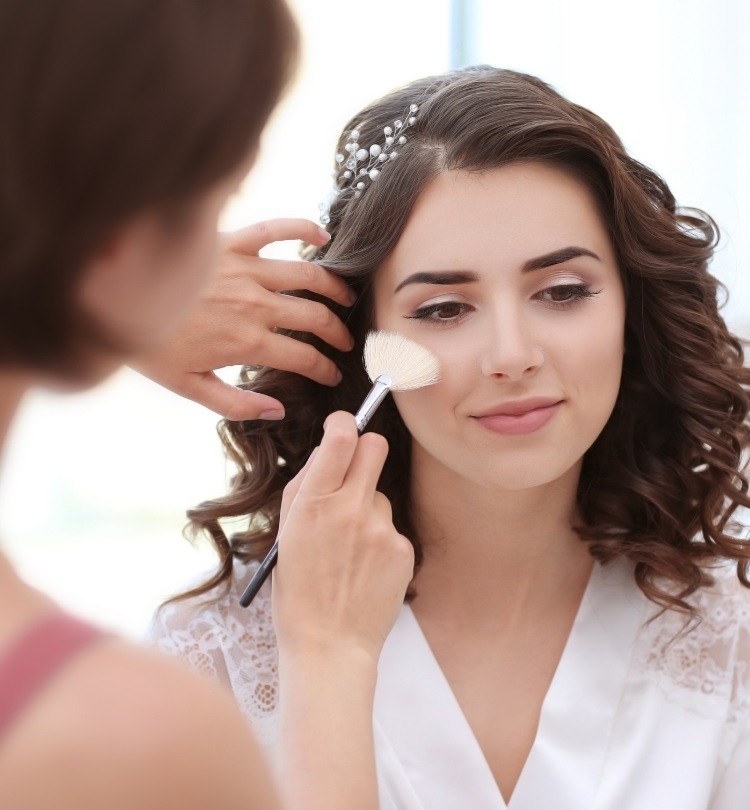
Once you have added the contour product to the relevant places, you blend it in with a beauty blender or brush. Please do not move it around your face so as not to spoil your makeup, gently pat it into your skin till it blends well.
Step 4: Highlight
Highlight the part of your face that you want to bring out. And these parts are areas that reflect light, such as the bridge of your nose, nose tip, jaw, brow bone, under-eye, etc.
For this step, you can use a shimmery highlighter or concealer. Apply the product to the abovementioned parts and blend with the appropriate brush. To get a sculpted face, you only need to blend it into your skin at that part you wish to highlight. You won’t get a sculpted outcome if you move the brush or blender around your face.
Applying a highlighter under your eye will lift it, and if you put it on the bridge of your nose, it will make it look slimmer. Thereby giving you a more defined look.
Step 5: Set
You have to ensure that your contour stays for a long time after taking time and effort to give your face a more defined look. Hence, you should set your face with a setting spray.
Here are some contour makeup products you need:
Contour
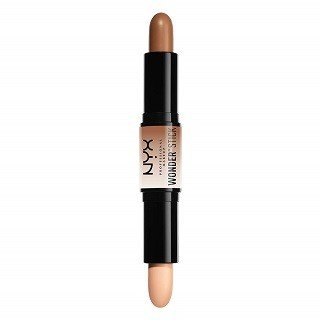
1. NYX PROFESSIONAL MAKEUP Wonder Stick
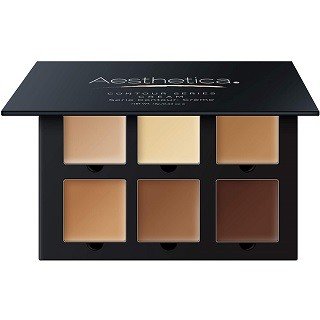
2. Aesthetica Cosmetics Cream Contour and Highlighting Makeup Kit
Highlighter
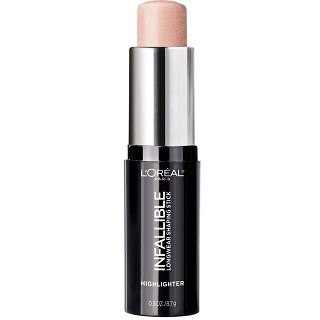
1. L’Oreal Paris Makeup Infallible Longwear Highlighter
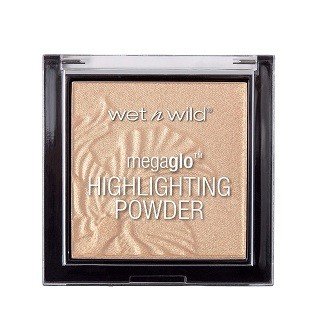
2. Wet n Wild MegaGlo Highlighting Powder
Contour brush
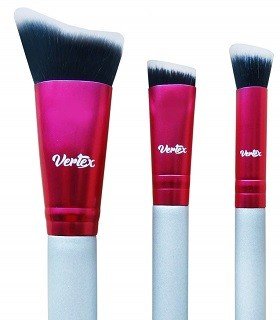
1. Vertex Beauty Makeup Contour Brush Set
Beauty blender
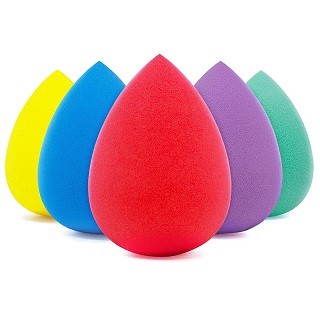
1. BEAKEY 5 Pcs Makeup Sponge Set
Setting spray
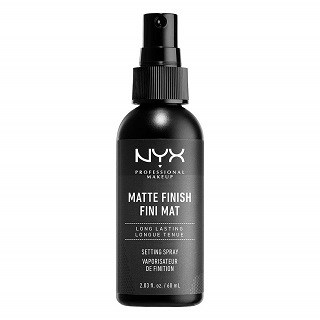
1. NYX PROFESSIONAL MAKEUP Makeup Setting Spray
Final Thoughts
We hope you have been able to learn how to contour. With these tips, you now have confidence that you can add definition to your face and give it a more sculpted look.